实战12 用户编辑和用户删除
目录
1、编辑用户
1.1 编辑用户后端接口实现
    /**
     * 修改用户
     *
     * @param user
     * @return
     */
    @PutMapping("/update")
    @PreAuthorize("hasAuthority('sys:user:edit')")
    public Result update(@RequestBody User user) {
        //查询用户
        User item = userService.findUserByUserName(user.getUsername());
        //判断对象是否为空,且查询到的用户ID不等于当前编辑的用户ID,表示该名称被占用
        if (item != null && item.getId() != user.getId()) {
            return Result.error().message("登录名称已被占用!");
        }
        //调用修改用户信息的方法
        if(userService.updateById(user)){
            return Result.ok().message("用户修改成功");
        }
        return Result.error().message("用户修改失败");
    }
1.2 编辑用户前端实现
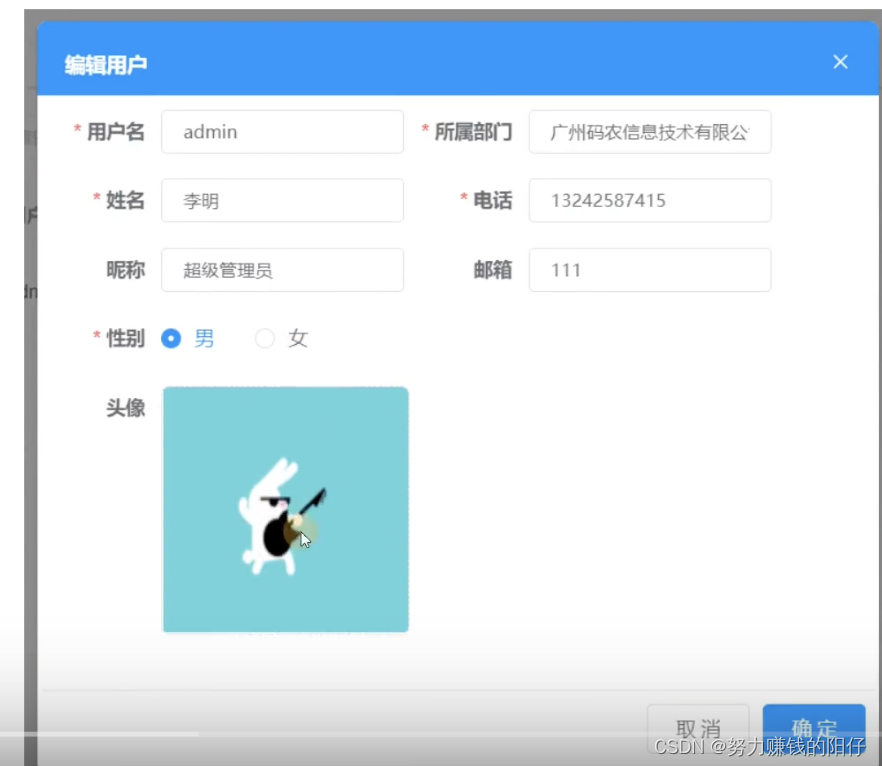
1.2.1 效果图
 1.2.2 前端api脚本代码
1.2.3 修改用户脚本代码
/**
    * 新增或编辑确认事件
    */
    onConfirm() {
      this.$refs.userForm.validate(async(valid) => {
        if (valid) {
          let res = null
          //判断用户ID是否为空
          if (this.user.id === '') {
            //新增
            //发送添加请求
            res = await userApi.addUser(this.user)
          } else {
            //发送修改请求
            res = await userApi.updateUser(this.user)
          }
          //判断是否成功
          if (res.success) {
            this.$message.success(res.message)
            //刷新
            this.search(this.departmentId, this.pageNo, this.pageSize);
            //关闭窗口
            this.userDialog.visible = false
          } else {
            this.$message.error(res.message)
          }
        }
      })
    },
    /**
    * 编辑用户
    * @param row
    */
    handleEdit(row) {
      //数据回显
      this.$objCopy(row, this.user);
      //设置窗口标题
      this.userDialog.title = "编辑用户";
      //显示编辑部门窗口
      this.userDialog.visible = true;
    },
2、删除用户
2.1 删除用户后端接口实现


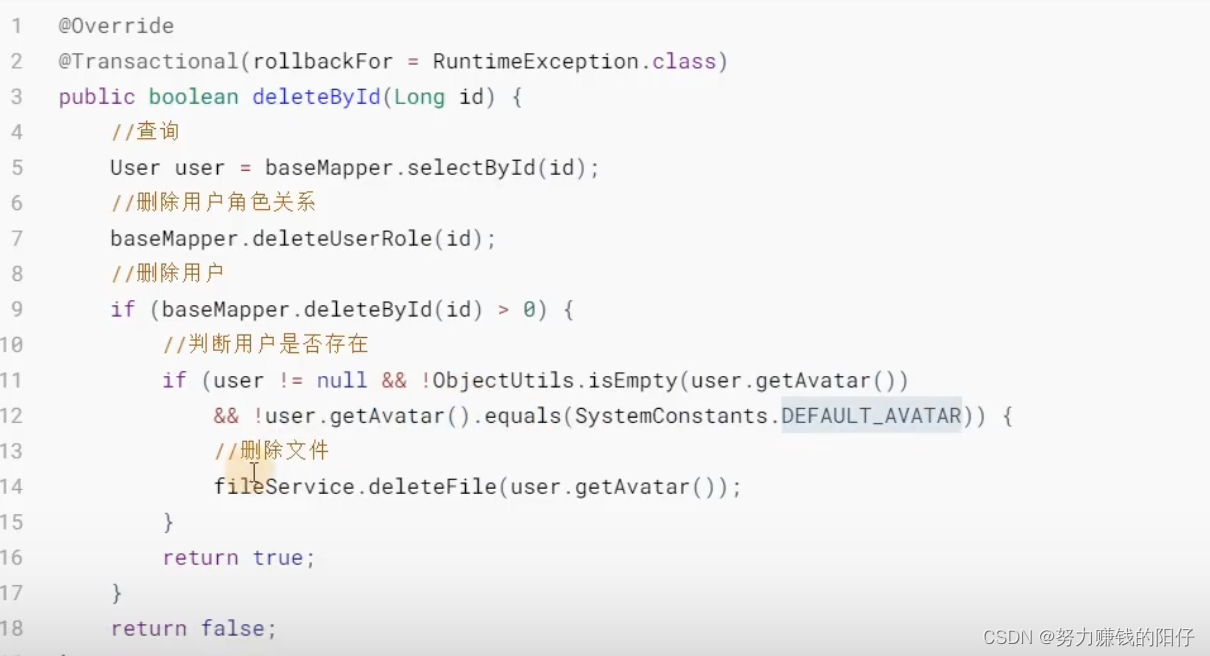
UserService
 UserServicelmpl

 /**
     * 删除用户
     * @param id
     * @return
     */
    @DeleteMapping("/delete/{id}")
    @PreAuthorize("hasAuthority('sys:user:delete')")
    public Result delete(@PathVariable Long id) {
        //调用删除用户信息的方法
        if(userService.deleteById(id)){
            return Result.ok().message("用户删除成功");
        }
        return Result.error().message("用户删除失败");
    }
2.2 删除用户前端代码实现
 /**
    * 删除用户
    * @param row
    */
    async handleDelete(row) {
      let confirm = await this.$myconfirm('确定要删除该数据吗?')
      if (confirm) {
        //封装条件
        let params = { id: row.id }
        //发送删除请求
        let res = await userApi.deleteUser(params)
        //判断是否成功
        if (res.success) {
          this.$message.success(res.message)
          //刷新
          this.search(this.departmentId, this.pageNo, this.pageSize);
        } else {
          this.$message.error(res.message)
        }
      }
    },